
The Golden Ratio Rule for Creating the Best 2D Sketches: A Comprehensive Guide
The Golden Ratio, often referred to as the “divine proportion,” has captivated artists, architects, and designers for centuries. Represented by the mathematical constant φ (approximately 1.618), this ratio is found in nature, art, and design, creating compositions that feel harmonious and visually appealing. In 2D sketching—whether for interior design, graphic art, or architectural layouts—applying the Golden Ratio can elevate your work, making it balanced, engaging, and timeless. This comprehensive guide explores The Golden Ratio Rule for Creating the Best 2D Sketches, offering detailed techniques, practical tips, and real-world applications to help artists and designers craft stunning visuals in 2025.
Introduction: Why the Golden Ratio Matters in 2D Sketching
The Golden Ratio is a powerful tool for creating aesthetically pleasing compositions. Its ability to guide the eye naturally through a design makes it ideal for 2D sketches, where balance and proportion are critical. Whether you’re sketching a room layout, a logo, or a piece of digital art, the Golden Ratio provides a framework to achieve harmony without feeling rigid or formulaic. In this guide, we’ll break down how to apply the Golden Ratio to your 2D sketches, from understanding its principles to using practical tools and techniques. Let’s dive into how this timeless rule can transform your creative process.
Understanding the Golden Ratio
The Golden Ratio is a mathematical relationship where the ratio of two quantities (a and b) is such that the larger (a) divided by the smaller (b) equals approximately 1.618, and their sum (a+b) divided by the larger (a) also equals 1.618. Visually, this creates proportions that feel balanced and natural.
- Mathematical Basis: If a = 1.618 and b = 1, then a/b = 1.618, and (a+b)/a = 1.618.
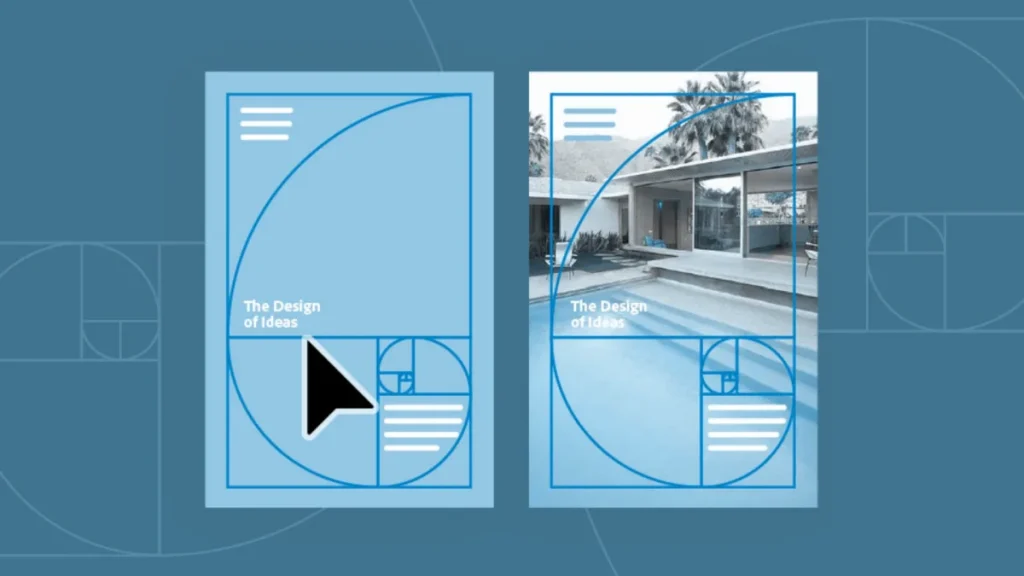
- Visual Representation: The Golden Ratio can be expressed as a rectangle (where the sides are in a 1:1.618 ratio), a spiral (created by connecting quarter-circle arcs within nested Golden Rectangles), or a grid (like the Golden Section grid).
- Why It Works: The human eye is drawn to proportions that mimic patterns in nature—like the spirals of seashells or the arrangement of flower petals—making the Golden Ratio inherently appealing.
Key Application: In 2D sketching, the Golden Ratio helps you position elements (e.g., focal points, lines, or shapes) to guide the viewer’s eye naturally and create a sense of balance.
1. Start with the Golden Rectangle
The Golden Rectangle is the foundation of applying the Golden Ratio in 2D sketches. Its sides follow the 1:1.618 proportion, providing a canvas that feels inherently balanced.
- How to Create a Golden Rectangle:
- Start with a square (e.g., 100×100 units).
- Extend one side by multiplying its length by 1.618 (e.g., 100 x 1.618 = 161.8 units).
- Complete the rectangle by drawing the remaining sides.
- Application in Sketching:
- Use the Golden Rectangle as the overall frame for your sketch, such as the canvas for a logo or the layout of a room.
- Place key elements (e.g., a focal piece of furniture or a central graphic) within the smaller square or along the dividing line between the square and the extended section.
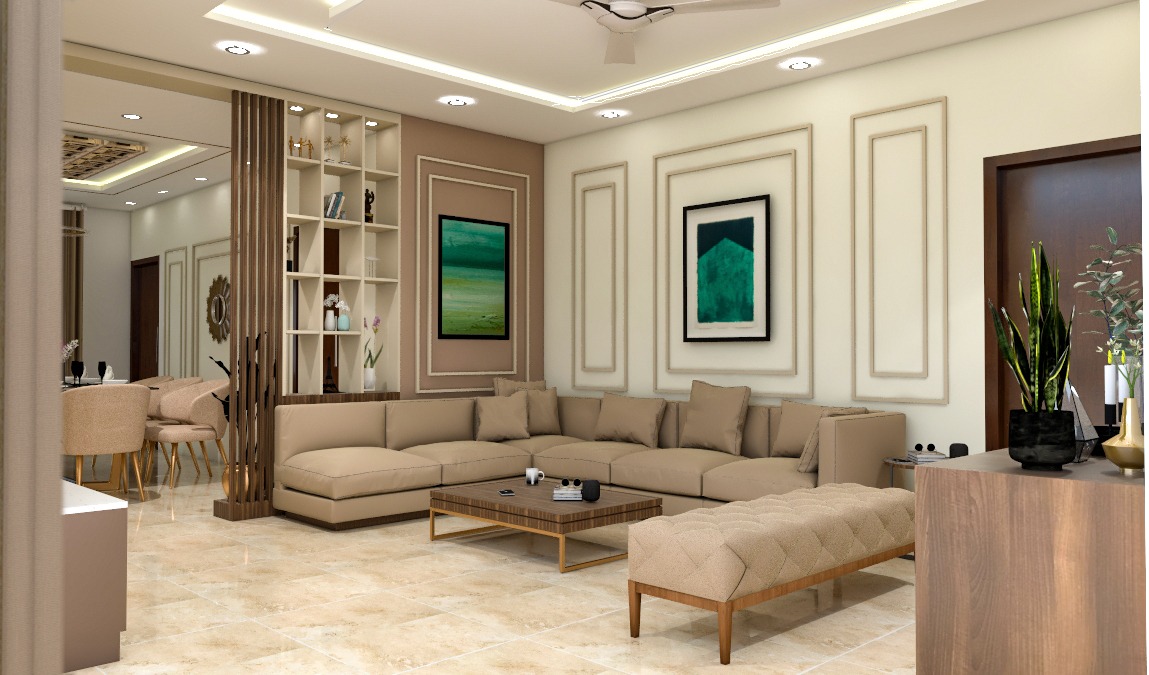
- Example: In an interior design sketch for a living room, draw the floor plan as a Golden Rectangle. Position the sofa or coffee table near the 1:1.618 dividing line to create a natural focal point.
- Pro Tip: Use design software like Adobe Illustrator or Procreate, which often include Golden Ratio templates or grid overlays to simplify the process.
2. Apply the Golden Spiral for Dynamic Composition
The Golden Spiral, formed by connecting quarter-circle arcs within a series of nested Golden Rectangles, creates a flowing, organic guide for arranging elements in your sketch.
- How to Construct a Golden Spiral:
- Draw a Golden Rectangle.
- Divide it into a square and a smaller Golden Rectangle.
- Repeat the process within the smaller rectangle, creating progressively smaller squares.
- Draw quarter-circle arcs connecting opposite corners of each square to form a spiral.
- Application in Sketching:
- Use the spiral to guide the placement of elements, ensuring they flow naturally. For example, in a portrait sketch, place the subject’s eyes or face near the spiral’s tightest curve (the focal point).
- In an interior sketch, align furniture or decor along the spiral’s path to create a sense of movement, such as a dining table curving toward a chandelier.
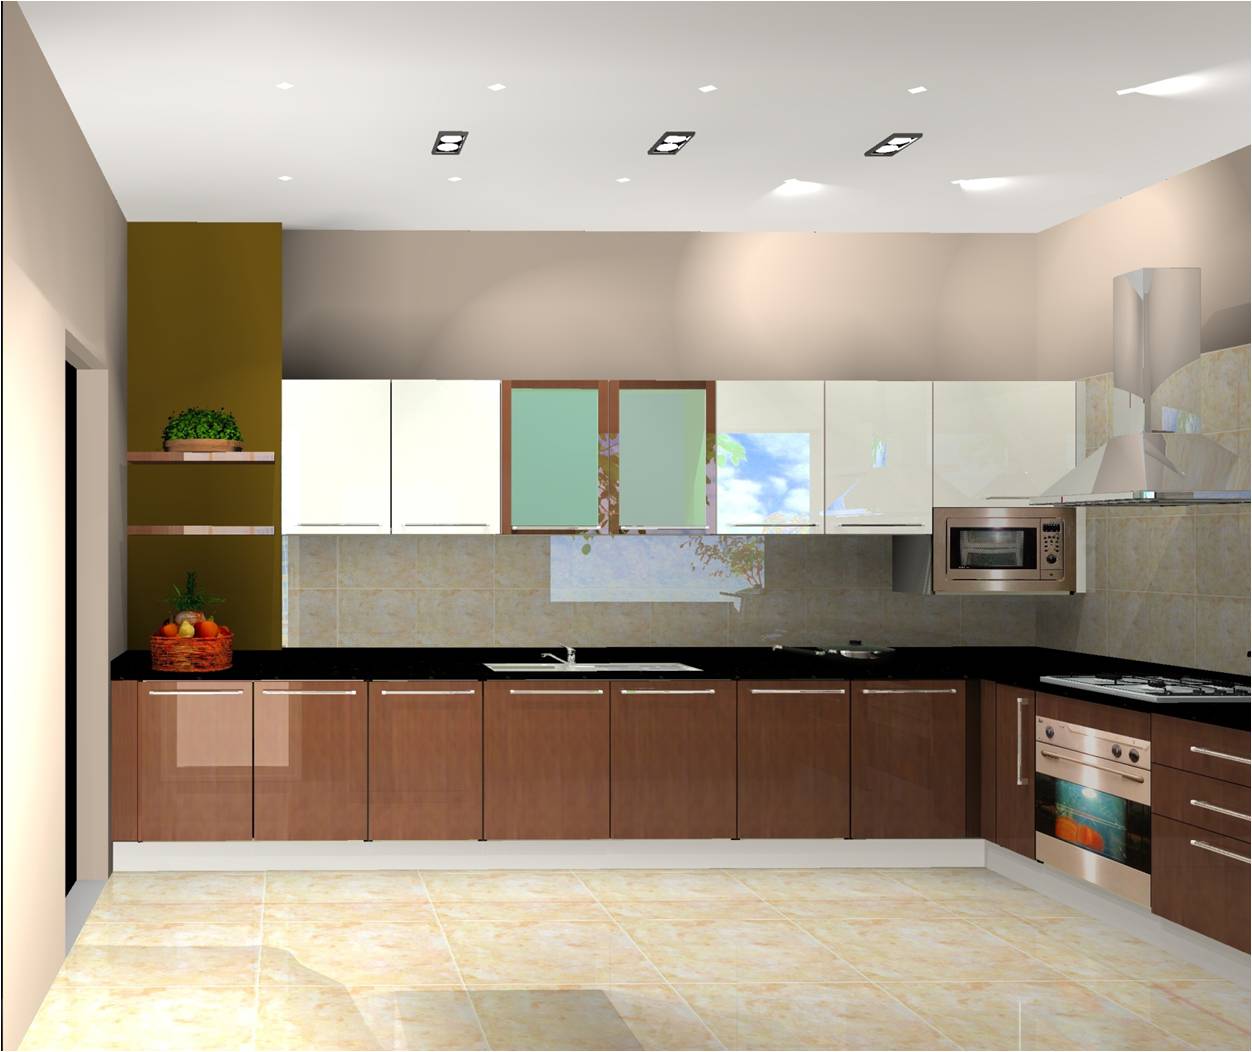
- Example: In a 2D sketch of a kitchen, position the island at the spiral’s center, with appliances and cabinets radiating outward along the spiral’s curve for a dynamic layout.
- Pro Tip: Overlay a Golden Spiral in sketching tools like Affinity Designer to ensure precise placement without manual calculations.
3. Use the Golden Ratio Grid for Balance
The Golden Ratio Grid divides your canvas into sections based on the 1:1.618 ratio, helping you place elements strategically for balance and harmony.
- How to Create a Golden Ratio Grid:
- Divide your canvas horizontally and vertically into sections where each segment’s width or height is 1.618 times smaller than the previous one.
- For example, in a 1000px-wide canvas, divide it into sections of approximately 618px, 382px, 236px, and so on (1000 ÷ 1.618 ≈ 618, 618 ÷ 1.618 ≈ 382, etc.).
- Application in Sketching:
- Place focal points (e.g., a logo’s main icon or a room’s centerpiece) at the intersections of grid lines, where the viewer’s eye naturally lands.
- Align secondary elements along the grid lines to maintain proportion and balance.
- Example: In a graphic design sketch for a poster, position the headline text at a grid intersection and supporting visuals along the grid lines to create a cohesive composition.
- Pro Tip: Use grid tools in software like Sketch or Figma, which allow you to toggle Golden Ratio overlays for precise alignment.
4. Position Focal Points Strategically
The Golden Ratio helps you identify the most visually impactful areas of your sketch for placing focal points, ensuring they capture attention without overwhelming the composition.
- How to Apply:
- Divide your canvas using the Golden Ratio Grid or Spiral.
- Place the primary focal point (e.g., a subject’s face, a logo’s centerpiece, or a room’s main feature) at the intersection of the 1:1.618 lines or the spiral’s tightest curve.
- Position secondary elements (e.g., supporting text or decor) in adjacent sections to create hierarchy.
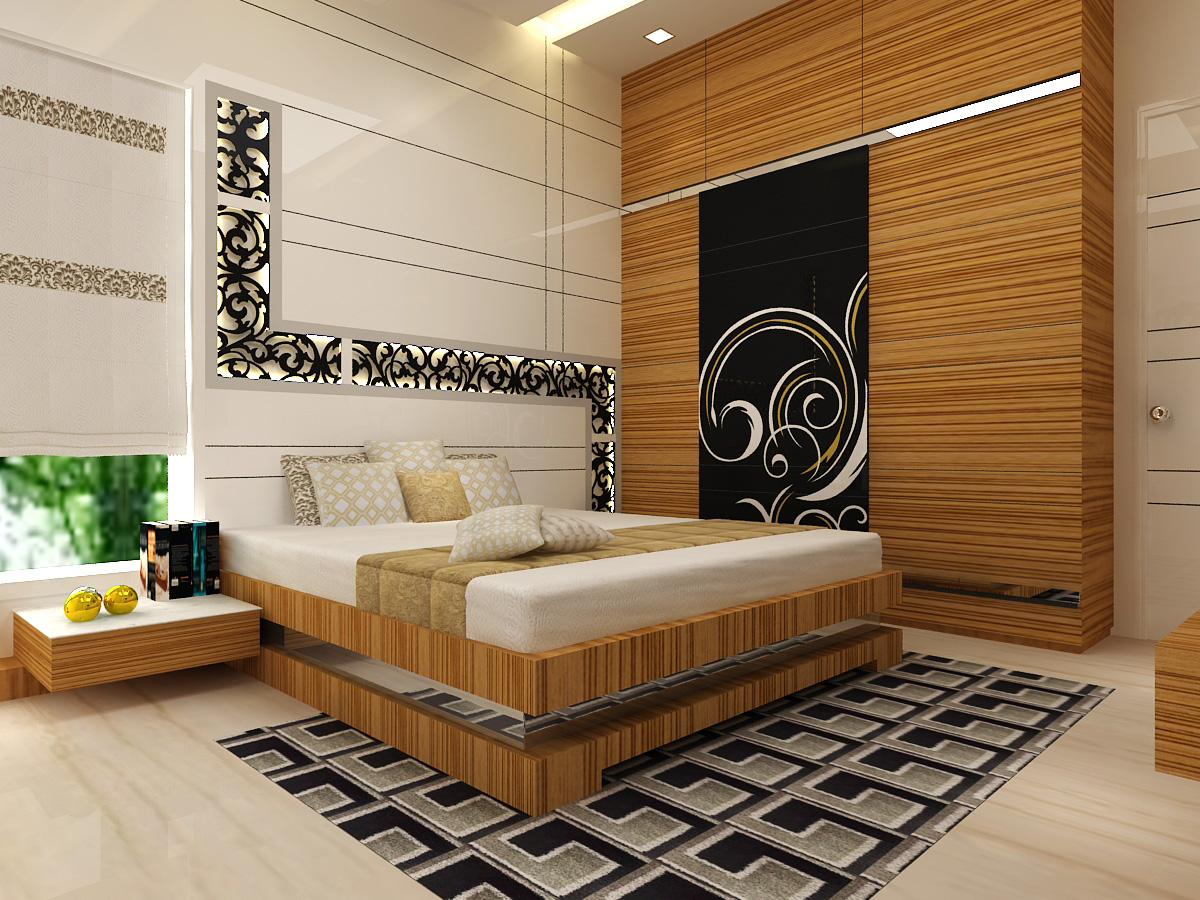
- Example: In a 2D architectural sketch of a bedroom, place the bed at the intersection of the Golden Ratio Grid, with nightstands and artwork aligned along the grid’s secondary lines for balance.
- Pro Tip: Avoid overcrowding the focal point—leave negative space around it to enhance its prominence, as the Golden Ratio emphasizes simplicity and clarity.
5. Balance Positive and Negative Space
The Golden Ratio naturally encourages a balance between positive space (occupied by elements) and negative space (empty areas), creating a sketch that feels neither cluttered nor sparse.
- How to Apply:
- Use the Golden Rectangle or Grid to allocate approximately 61.8% of the canvas to positive space (e.g., furniture, shapes, or text) and 38.2% to negative space.
- Ensure negative space frames the focal point, guiding the viewer’s eye without distraction.
- Example: In a logo sketch, design the main icon to occupy the larger section of a Golden Rectangle, leaving the smaller section as negative space for breathing room or subtle text.
- Pro Tip: In interior design sketches, use negative space around key furniture (e.g., a dining table) to create an airy, open feel, enhancing the room’s perceived size.
6. Incorporate the Golden Ratio in Proportions
Beyond the canvas, the Golden Ratio can guide the proportions of individual elements within your sketch, such as shapes, lines, or furniture.
- How to Apply:
- Design elements with dimensions that follow the 1:1.618 ratio. For example, a table in an interior sketch could be 100 inches long and 61.8 inches wide.
- Scale secondary elements (e.g., chairs or decorative objects) to maintain the same proportional relationship.
- Example: In a 2D sketch of a bookshelf, design the height to be 1.618 times the width, and space shelves so each section’s height follows the same ratio for a harmonious look.
- Pro Tip: Use a calculator or design software to quickly compute Golden Ratio proportions (e.g., multiply or divide by 1.618) for precision.
7. Enhance Flow with the Golden Spiral
The Golden Spiral creates a sense of movement, guiding the viewer’s eye through your sketch in a natural, flowing manner.
- How to Apply:
- Overlay a Golden Spiral on your canvas and align key elements along its curve.
- For example, in a landscape sketch, place the horizon along a major spiral arc and position trees or figures along smaller arcs to create depth.
- Example: In a 2D interior sketch of a living room, arrange seating along the spiral’s path, leading the eye from the sofa to a coffee table and then to a statement lamp.
- Pro Tip: Use the spiral subtly—overloading it with elements can feel forced. Aim for 3–5 key elements along the curve to maintain flow.
8. Use Digital Tools to Simplify the Process
Modern design software makes applying the Golden Ratio easier, allowing you to focus on creativity rather than calculations.
- Recommended Tools:
- Adobe Illustrator: Offers grid and guide tools to create Golden Rectangles or Grids.
- Procreate: Includes customizable grid overlays and brushes for sketching with Golden Ratio proportions.
- Figma or Sketch: Provide plugins or templates for Golden Ratio layouts, ideal for UI/UX or graphic design sketches.
- Golden Ratio Calculators: Online tools like Omni Calculator can compute dimensions instantly.
- How to Use:
- Import a Golden Ratio template or overlay into your software.
- Snap elements to grid lines or spiral curves for precise alignment.
- Pro Tip: Save custom Golden Ratio grids as reusable templates in your software to streamline future sketches.
9. Combine the Golden Ratio with Other Design Principles
The Golden Ratio works best when paired with other design principles, such as contrast, alignment, and symmetry, to create a cohesive sketch.
- Complementary Principles:
- Contrast: Use varying line weights or colors to emphasize Golden Ratio focal points (e.g., bold lines for a table, lighter lines for decor).
- Alignment: Ensure elements align with the Golden Ratio Grid for a polished look.
- Symmetry: Balance asymmetrical Golden Ratio layouts with symmetrical secondary elements (e.g., matching chairs around a table).
- Example: In a 2D logo sketch, place the main icon at a Golden Ratio intersection, use contrasting colors for emphasis, and align text symmetrically below for balance.
- Pro Tip: Experiment with slight deviations from the Golden Ratio for organic sketches, as strict adherence can sometimes feel mechanical.
10. Practice and Iterate for Mastery
Applying the Golden Ratio effectively takes practice. Start with simple sketches and gradually incorporate the ratio into more complex designs.
- How to Practice:
- Create thumbnail sketches using Golden Rectangles or Grids to test layouts quickly.
- Analyze famous artworks or designs (e.g., the Parthenon or Apple’s logo) to see how they use the Golden Ratio.
- Redraw existing sketches, repositioning elements to align with the Golden Ratio for comparison.
- Example: Sketch a room layout without the Golden Ratio, then redraw it using a Golden Rectangle canvas and spiral to place furniture, noting how the revised version feels more balanced.
- Pro Tip: Keep a sketchbook dedicated to Golden Ratio experiments, testing different applications (e.g., logos, interiors, or illustrations) to build confidence.
Real-World Applications of the Golden Ratio in 2D Sketching
The Golden Ratio is versatile, applicable to various 2D sketching contexts:
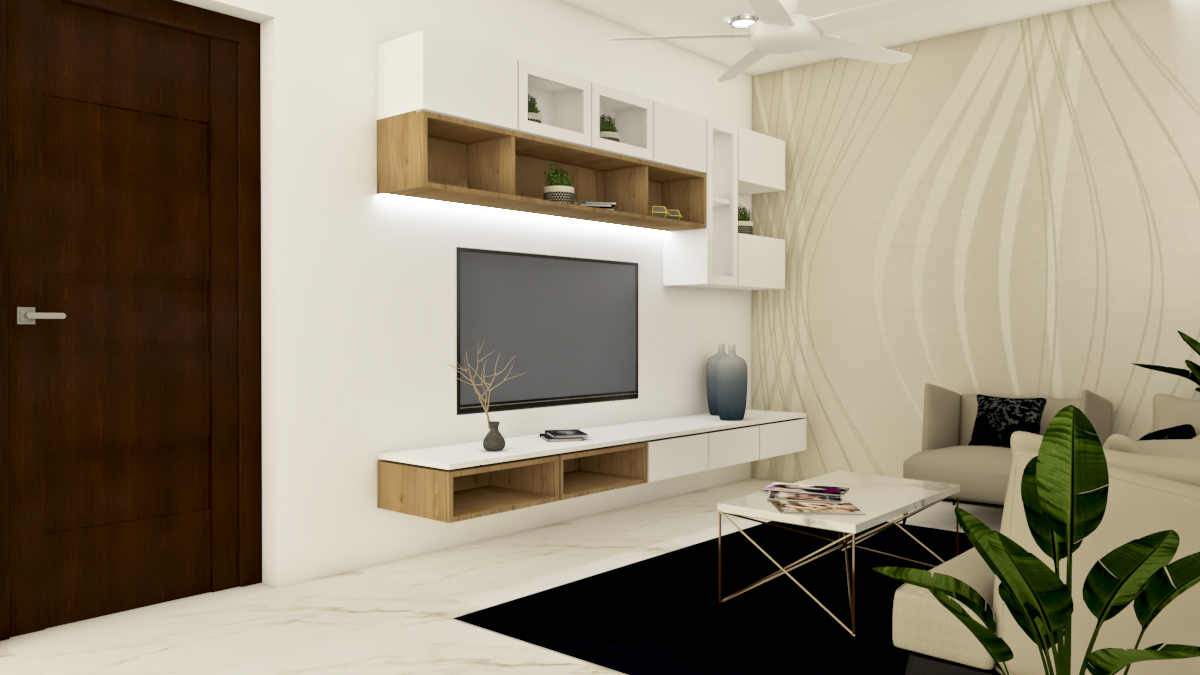
- Interior Design: Use Golden Rectangles to plan room layouts, ensuring furniture placement feels balanced. For example, position a sofa in a living room sketch so its length is 1.618 times its width, with a coffee table placed at a grid intersection.
- Graphic Design: Design logos or posters with focal points (e.g., text or icons) at Golden Ratio intersections for visual impact.
- Architecture: Sketch building facades or floor plans using Golden Ratio proportions to create harmonious elevations.
- Illustration: Place characters or objects along a Golden Spiral to guide the viewer’s eye through a narrative scene.
Case Study: In a 2D sketch for a modern kitchen, the designer used a Golden Rectangle for the floor plan, placing the island at the 1:1.618 dividing line. Cabinets and appliances were aligned along a Golden Spiral, creating a dynamic flow from the sink to the stove. The result was a balanced, inviting layout that felt intuitive to navigate.
Common Mistakes to Avoid
While the Golden Ratio is powerful, missteps can disrupt its effectiveness:
- Overloading the Composition: Avoid cramming too many elements into Golden Ratio focal points, as this can feel cluttered. Use negative space to maintain clarity.
- Ignoring Context: The Golden Ratio isn’t a one-size-fits-all rule. Adapt it to your sketch’s purpose (e.g., a minimalist logo vs. a detailed interior).
- Forgetting Scale: Ensure elements are proportionate to the overall canvas—oversized or tiny elements can disrupt the ratio’s harmony.
- Relying Solely on the Ratio: Combine the Golden Ratio with other principles (e.g., contrast, rhythm) for a well-rounded design.
Conclusion: Elevate Your Sketches with the Golden Ratio
The Golden Ratio is a timeless tool that brings harmony, balance, and beauty to 2D sketches. By incorporating Golden Rectangles, Spirals, and Grids, you can create compositions that feel intuitive and visually captivating. Whether you’re sketching a room layout, a logo, or an illustration, these 10 tips—ranging from strategic focal point placement to digital tool integration—provide a roadmap to master the Golden Ratio in 2025. Start experimenting today: grab a sketchbook, overlay a Golden Ratio grid, and watch your designs transform.
Get Started: Share your Golden Ratio sketches on Instagram with #GoldenRatioDesign, or join a local art workshop to refine your skills. Ready to take your sketches to the next level? Consult a design mentor or explore online courses to deepen your expertise. Let the divine proportion guide your creativity! ✨